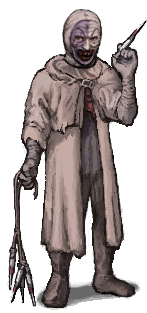
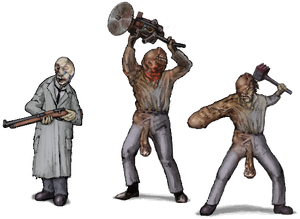
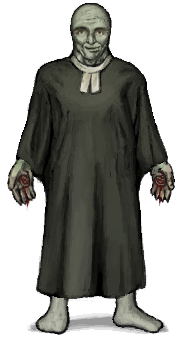
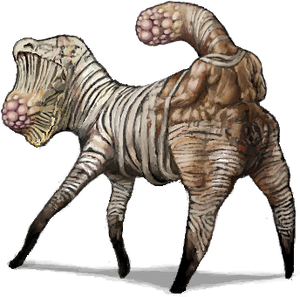
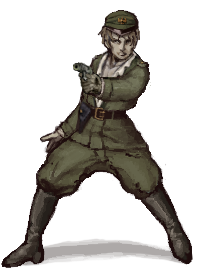
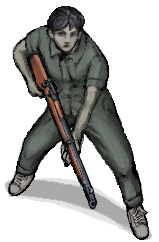
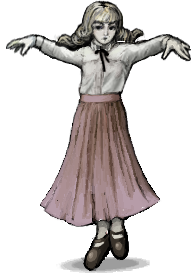
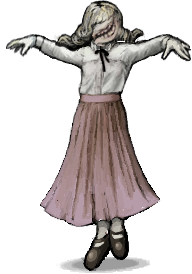
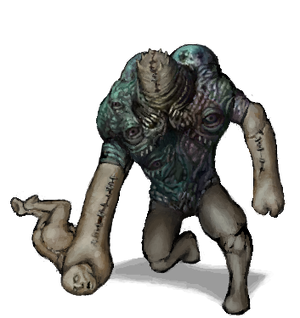
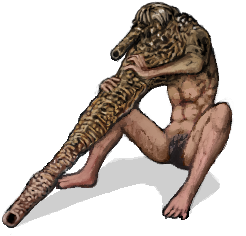
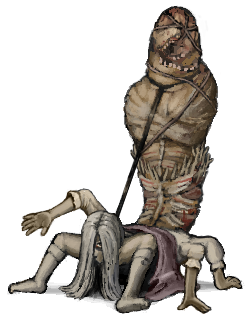
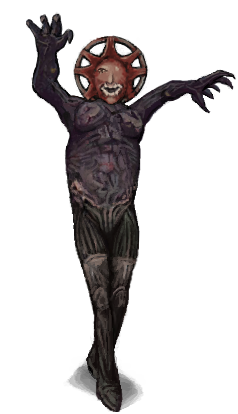
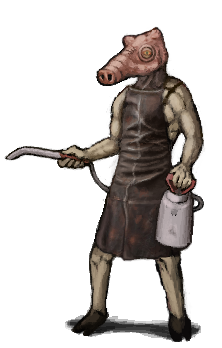
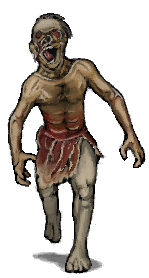
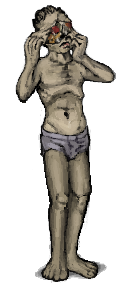
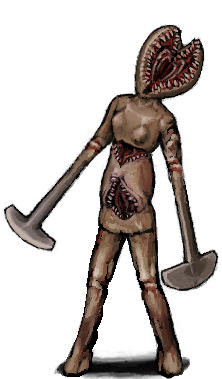
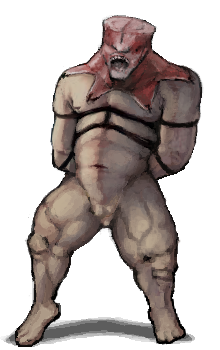
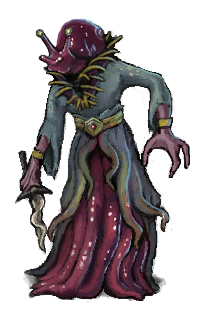
Common enemies.
| Enemy | Search | Steal | Location |
|---|---|---|---|
 |
(Kassara) | (2 Rust-coloured pearls) |
|
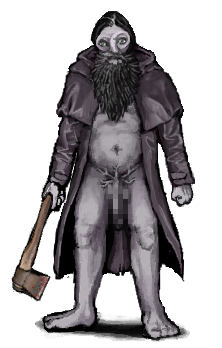 |
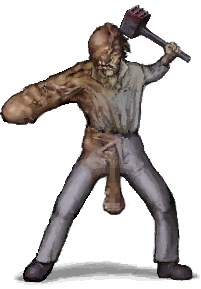
(Basement key and Axe) | (2 Tobacco) (Axe) |
|
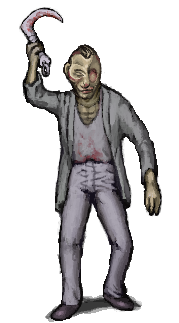 |
(Sickle) | (5 Shillings) (Bear trap) (Vodka) |
|
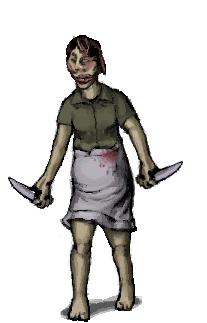 |
(2 Shillings) (Knife) (Cloth fragment) (Moldy bread) |
(5 Shillings) (Blue vial) |
|
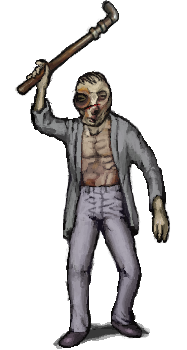 |
(2 Shillings) (Rusty pipe) (Small key) (Arm and Leg) |
(12-gauge shells) (Vodka) |
|
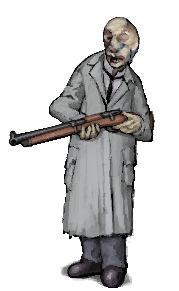 |
(.303 Ammo) (2 .303 Ammo) (2 Gun powder) |
(3 .303 Ammo) (5 .303 Ammo) |
|
 |
(2 Shillings) (Meatpie and Moldy bread) (Small key) (Arm and Leg) (Cloth fragment) (Moldy bread) (3 Shillings) |
(2 White vials) (Pep pills) |
|
 |
(2 Shillings) (Dried meat) (Tobacco) (Arm and Leg) |
(2 Shillings) (Rotten meat) |
|
 |
(2 Shillings) (Dried meat) (Tobacco) (Arm and Leg) |
(Egg) (Turnip) |
|
 |
(2 Shillings) (Dried meat) (Tobacco) (Arm and Leg) |
(Small key) (Turnip) |
|
 |
Nothing | Nothing | |
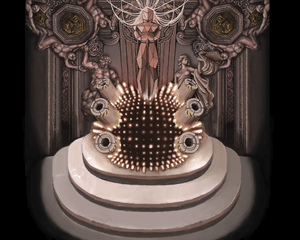
 |
(Soul stone) | (Soul stone) (Brain flower stigma) |
|
 |
Nothing | Nothing |
|
 |
(Lucky coin) (2 Cloth fragments) (10 Shillings) |
(Condensed green) (Condensed blue) |
|
 |
(2 Shillings) (Rusty pipe) (Small key) (Arm and Leg) |
(5 Shillings) (Beer) (Blue vial) |
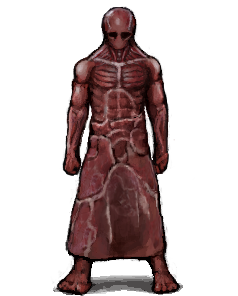
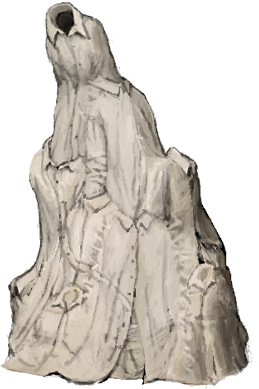
At the start of a run, Neighbour 14 has a 25% chance to appear, and if it does then it will appear in the first sewer area that the players visits out of: |
 |
(3 Shillings) (Egg) (Rotten meat) (Arm and Leg) |
Nothing |
|
 |
(2 Shillings) (Rusty pipe) (Small key) (Arm and Leg) |
(Fly amanita) (2 Scrap metal) (Lucky coin) |
|
 |
Nothing | Nothing | |
 |
(2 9mm Bullets) (4 9mm Bullets) (2 Gun powder) |
(5 9mm Bullets) (6 9mm Bullets) |
|
 |
(2 Shillings) (Meat mallet) (Cloth fragment) |
(7 Shillings) (2 Cloth fragments) (12-gauge shells) |
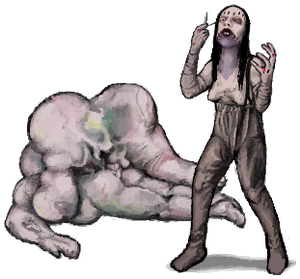
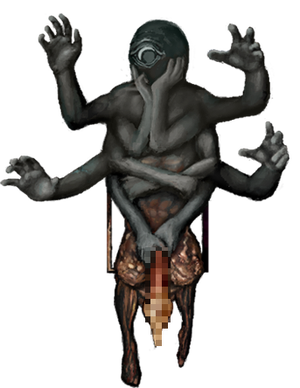
At the start of a run, Half-cocooned 7's location is randomly chosen out of these:
|
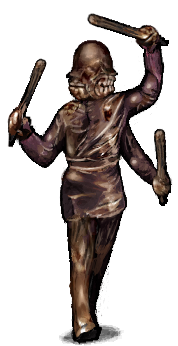 |
(Blue vial) (Small key) (Moldy bread) (3 Shillings) |
(2 Cloth fragments) (3 Matches) (6 Shillings) |
|
 |
(Soul stone) (Tobacco) |
(Light blue vial) (Soul stone shard) (Brain flower stigma) |
|
 |
Nothing | Nothing |
|
 |
Nothing | Nothing |
|
 |
(2 9mm Bullets) (4 9mm Bullets) (2 Gun powder) |
Nothing |
|
 |
Nothing | Nothing |
|
 |
Nothing | Nothing |
|
 |
(2 Shillings) (3 Shillings) (Meatpie and Moldy bread) (Small key) (Arm and Leg) (Cloth fragment) (Moldy bread) |
Nothing |
|
 |
(Soul stone) (2 Fly amanita) (3 Lavender) (Soul devour necklace) |
(Soul stone shard) (Brain flower stigma) |
|
 |
(Iron spear) (Lucky coin) (Cloth fragment) (10 Shillings) |
Nothing |
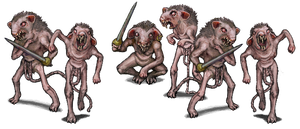
In Masoχ-S/M mode, more Bellends will be present:
|
 |
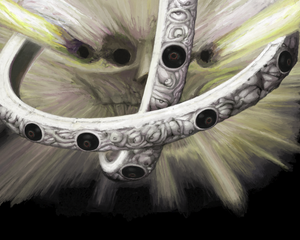
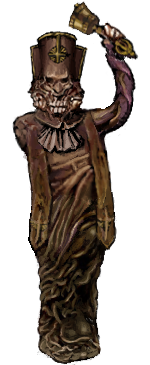
Nothing | (Soul stone) | In Easy(er) mode and Fear & Hunger mode the Poe encounters will only become active when the player interacts with the lamp in Dr. Kefer's Tricks & Magic basement, and in Masoχ-S/M mode they are always active.
When active:
|
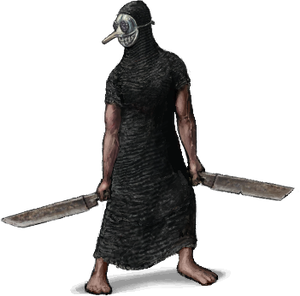 |
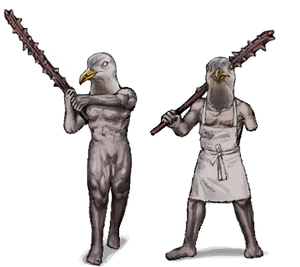
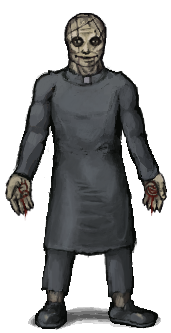
(Death mask and Chainmail dress) | (2 Tobacco) | Death masks can spawn from coffins placed in the overworld after the player walks over the spawn tiles (as seen in Gallery) three times. Their locations are as follows:
At the start of a Fear & Hunger run, up to two random Death masks are chosen which will be able to spawn during a run. The two Death masks that can spawn in Old Town will not activate until the player has opened one of the entrances to the city. Specifically entering the Deep Woods through the broken shack, entering the Golden Gates, opening the Sewer gate or the main gate to the inner city. In Easy(er) mode, Death masks are absent from the run. In Masoχ-S/M mode, all six Death masks will be able to spawn without restrictions. |
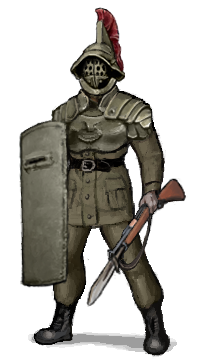 |
(Rifle .303 Mk I and 3 .303 Ammo) (Bremen elite helmet and Bremen chestplate) |
(7 .303 Ammo) |
|
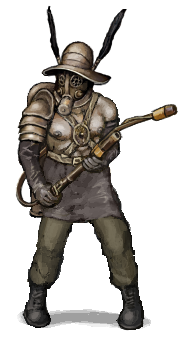 |
(Arm guards) (Bremen gas mask and Arm guards) |
(4 Gun powder) |
|